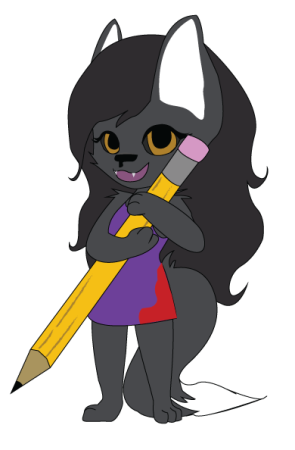
Sight Measuring

Hi!

We’ll be talking about sight measuring in this post.

Sight-Measuring is when you use a straight object, such as a pencil, to determine proportions and angles. vases with proportions

What We’ll Need:

  • Pencil/Pen
  • Paper
  • Measuring Tool (Can use pencil)
  • Something to draw or measure

I will be using my tablet and computer to draw with.

Set up your object or scene and your drawing area.

Use your measuring tool and hold it at arm’s length. Make sure your arm is straight.

Use your thumb against your tool to figure out the proportions you’re measuring.

sight-measuring

Transfer the relative information to your drawing.

sight-measuringpaper

You can also use this technique to discover angles in your reference object or image.

Enjoy measuring your art in the future.

______________________________________________________________________________

Feel free to comment and share how you used the techniques in your own work.

If there is anything you would like me to go over, send me an email and I will try to make time for it.


Chuck Close: Grid Drawing

Welcome! Nice to see ya!

Chuck Close is a well-known artist most known for his grid drawings. Chuck Close began painting in what’s known as Chuch Close style after “the event”. The event is when Close became paralyzed from the neck down from a seizure. After months of physical therapy, he could move his arms and could walk for a few steps. He relies on a wheelchair to move around.

To continue painting he strapped paintbrushes to his wrists. His assistant would create grid squares and Close would paint in the low-resolution grid squares. When you step back the squares create a more cohesive image.

chuck-close-self-portrait

Chuck Close – Self Portrait

To create a drawing similar to his you can start by drawing something or choosing someone to draw.

Next, you’ll want to grid the image.

Pick your colors. Choose colors that are similar to the color in the image you’re drawing from. So, for flesh colors, you can use pinks and oranges or possibly blues. Remember this is your rendition so you can change it to green and blues if you want. Notice how Close doesn’t use only one color in each square. Mix it up.

Now you can color in the squares with interesting designs. I like keeping it more organic but you don’t necessarily have to.

Here is my own example:

ChuckCloseWolfGirl_grid

Now go explore your own drawings and enjoy drawing in chuck close style.

______________________________________________________________________________

Feel free to comment and share how you used the techniques in your own work.

If there is anything you would like me to go over, send me an email and I will try to make time for it.


Stippling

PeekingWolfGirlCrop

Hey all!

We’re exploring stippling.

Stippling is when you use small dots to paint, engrave or draw.

It’s best to use a fine point pen so you can get fine details without the smudging that paint can include.

What You’ll Need:

  • Paper
  • Pencil/Pen

I’ll be using my tablet and computer but the process is the same.

Begin by drawing an image lightly. You can include light outlines of shadows so you know where to center your stippling.

The more dots and the closer together those dots are, the darker the shade appears. The further you are from the image, the more your mind will fill in the gaps and add depth and to your image.

Stippling

Hopefully, now you can use these techniques in the future.
stipplingwolfgirl

______________________________________________________________________________


Feel free to comment and share how you used the techniques in your own work.

If there is anything you would like me to go over, send me an email and I will try to make time for it.

Hatching & Cross- Hatching

Hey all!

I hope everyone’s been awesome.

In this post, we’re going to be exploring hatching and cross-hatching. If you’re going to draw with me you’re going to need a few things.

What You’ll Need:

  • Paper
  • Pencil/Pen

DrawingTools

Or


TabletImage

Since drawing with a tablet and Adobe programs can be expensive, if you don’t already have the programs then just draw with paper and a drawing utensil.


What are Hatching and Cross-Hatching?

Hatching and cross-hatching are both used to create shading and texture when you draw.

Hatching: When you use fine parallel lines drawn close together to create the illusion of shadow or texture in a drawing.

Hatching


Cross-Hatching: drawing of twos layers of hatching at right angles to create a mesh-like pattern

Cross-Hatching


Time To Draw

Now that we learned the techniques lets do some drawing with them. We’re going to start with something easy, shaded spheres. One made with cross-hatching and one made with hatching.

Cross-HatchingSphere

HatchingSphere

I hope you had fun and hopefully, now you can use these techniques in the future.

Chibi_Wolf_GirlHatchingMerge

______________________________________________________________________________


Feel free to comment and share how you used the techniques in your own work.

If there is anything you would like me to go over, send me an email and I will try to make time for it.

Exploring Drawing

Hey all!

I’m Syl.

BLogWolfGirlPaintDress

There are multiple ways to improve your drawing.

Most people don’t make the time to draw, guilty, but, it’s one of the most important parts of improving your art.

Take some time, sit down and just start drawing. Draw anything, it doesn’t have to look good to be practice. Even little doodles you draw can help you improve.

You can also look at styles and techniques that others have come up with. Exploring those styles and techniques can help you with your own art. I didn’t always look this beautiful in print.

Let’s Get Started

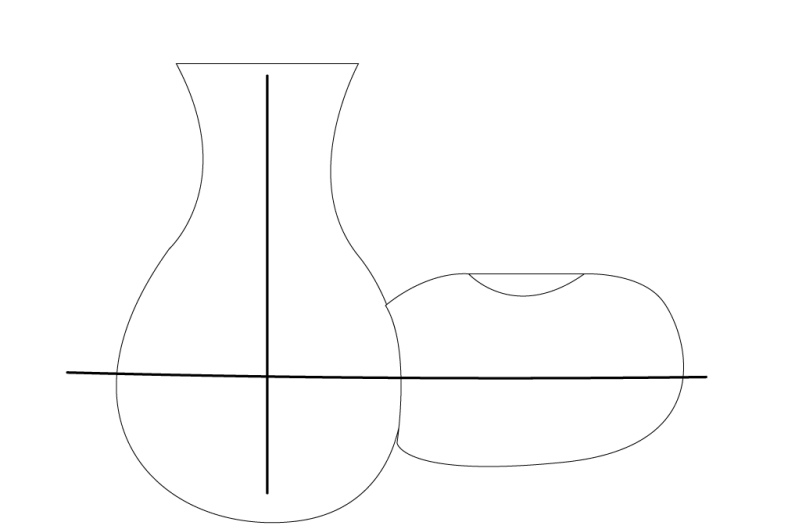
To get started, let’s come up with an idea of what to draw. We can decide to brainstorm ideas or draw from our stream of consciousness, which means to draw what enters your head when it enters your head.

To brainstorm, you can make a list of ideas that you come up with and then pick a few things from that list to draw.

Drawing from your stream of consciousness is a less structured. Since your drawing whatever comes to you, drawings can sometimes become confusing and exciting. Usually, you would set a timer when drawing from your stream of consciousness and draw until the time is up. The drawings don’t always make sense, but they don’t always have to when you’re sketching.

You can also take one idea from your stream of consciousness and flesh it out.

Take Out Your Tools

DrawingTools

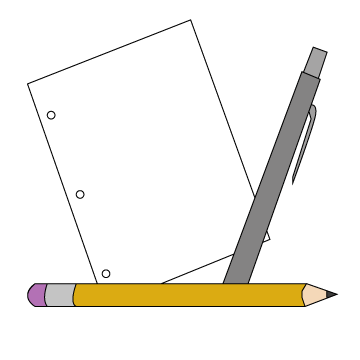
Now that you have an idea of what to draw, it’s time to get your workspace ready. Make sure everything you need is nearby, so you aren’t tempted to stop drawing because you left the drawing.

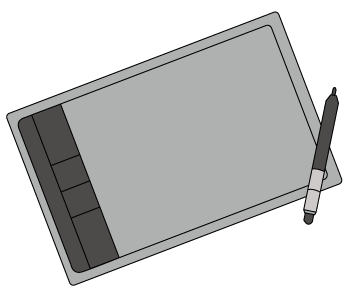
The simplest tools to use are a pencil, paper, and an eraser. If you are interested, you could also try drawing with ink, on the computer with a tablet, or if you’ve got a steady hand you can use a computer mouse. Most people can’t do that last one.

…Yes…I’m one of those people.

Here is a list of the tools we can use to draw:

Find a Place to Sit

Let’s go find a comfy chair. Someplace that won’t make your neck or back hurt if you sit there for a while.Chair

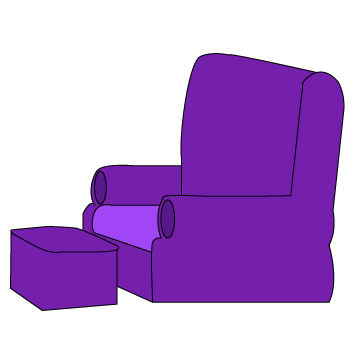
I like sitting in front of an easel in a supported chair.

Most art classes have stool chairs, but I really hate those things. I’m always slipping off them since my paws don’t touch the ground.

Flat surfaces like a kitchen table can be iffy to draw on since your drawing can get stretched because of the angle your drawing at. The last time I drew at the kitchen table I created a human giraffe.

Drawings look great when drawing them while they’re flat on the table but when you pick it you might notice that everything is kind of long.

Start Drawing

Now just sit down and draw!

I’ll see you again soon.

G’Bye

____________________________________________________________________________________________

Feel free to comment and share how your drawings turned out. I would love to hear from you.

If there is any styles or techniques you would like me to go over, send me an email and I will try to make time for it.